Choosing a Safe Coral Dip for New Corals
Share
A fresh frag can look perfect under blue lights and still carry flatworms, nudibranchs, red bugs, algae, or a few unwanted hitchhikers tucked into the plug. A safe coral dip for new corals is not about blasting every animal with the strongest treatment available. It is about using the right dip, at the right concentration and time, while giving a recently shipped coral the best chance to settle in.
That distinction matters. Dips can knock loose mobile pests and reduce the chance of introducing trouble to a display tank, but they also add stress to a coral that has already been cut, bagged, shipped, temperature-shifted, and handled. Good dipping is controlled, observant, and species-aware.
What a Coral Dip Can and Cannot Do
A coral dip is a short bath in prepared saltwater containing a pest-control treatment. Depending on the formula, it may irritate or kill mobile hitchhikers such as flatworms, certain nudibranchs, amphipods, bristleworms, small crabs, and other unwanted invertebrates. Some options are better suited to general frag arrivals, while others are used for a more specific suspected pest.
What a dip does not do is sterilize a coral. Eggs from coral-eating nudibranchs, acropora-eating flatworms, and other pests can remain attached after dipping. A dip also will not solve tissue loss caused by shipping stress, unstable alkalinity, poor flow, or a mismatch between the coral and the receiving system.
Think of it as the first inspection step, not a substitute for quarantine. If you have a dedicated coral holding system, use it. Even a simple observation tank with stable heat, flow, light, and separate tools gives you time to inspect the coral over several weeks and repeat treatment if needed.
Choosing a Safe Coral Dip for New Corals
The safest choice depends on the coral, the suspected pest, and the instructions on the product label. There is no single dip that is equally gentle on every coral and equally effective against every hitchhiker.
General-purpose commercial coral dips are often a practical starting point for routine new-frag intake. They are formulated for short exposure in saltwater and are commonly used on hardy LPS, zoanthids, soft corals, and many SPS frags. Follow the stated dosage exactly. More concentrate and more time do not automatically mean better pest control. They often mean a stressed coral, excess slime production, burnt tissue, or a frag that takes much longer to open.
Iodine-based dips are commonly used when a coral has a small cut, damaged area, or mild tissue concern, especially with many soft corals and LPS. They can be useful tools, but they are not broad-spectrum answers for every pest. Strong oxidizing treatments and peroxide-based approaches can have a place for targeted algae or pest problems, but they are not the default arrival dip for every new coral. Their margin for error can be much narrower.
Be especially careful with freshly cut frags, stressed euphyllia, thin-tissued chalices, delicate deepwater acropora, goniopora, and corals that arrived pale or with recession already visible. A coral that is clearly struggling may need stable, clean water and low-stress observation more than an aggressive dip. If you suspect a serious pest, isolate it and identify what you are dealing with before choosing a treatment.
Set Up the Dip Station Before Opening the Bag
The fastest way to make a preventable mistake is to mix a dip while a new shipment is warming on the counter. Have the station ready before the coral comes out of the bag.
Use clean containers and make the dip water from your aquarium or a matching batch of saltwater. Temperature, salinity, and pH should be close to the water the coral will enter afterward. A dip is already a controlled stress event. There is no reason to stack it with a large salinity or temperature swing.
For a reliable arrival routine, prepare four distinct items:
- A dip container with the exact measured amount of treatment
- A rinse container with clean, untreated saltwater
- A second rinse container for an extra layer of protection
- A white or light-colored inspection tray and a turkey baster or small pipette
Keep the bag water out of your tank, out of the rinse containers, and out of the quarantine system. It can contain mucus, waste, and anything that came loose during transit.
A Low-Stress Dipping Process
Start by checking the coral in the shipping bag. If it arrived cold, hot, heavily slimed, or with obvious tissue damage, avoid rushing. Let the sealed bag temperature-adjust briefly according to your normal livestock-acclimation process, then assess the coral under normal white light before deciding how hard to treat it.
Once the coral is removed, inspect the plug, underside, and crevices. Pest eggs often hide where a quick glance misses them. If practical, remove the coral from the original plug or discard the plug altogether. This is one of the most useful steps for reducing pests, algae, vermetid snails, and nuisance organisms that cling to plugs rather than the coral itself.
Mix the dip only at the labeled concentration. Use a measuring syringe, pipette, or graduated container instead of guessing. Place the coral in the dip and start a timer. Gentle circulation or occasional light swishing helps the solution reach shaded areas, but do not whip the coral around.
During the bath, watch the coral. Heavy slime is common with some species, especially zoanthids and soft corals, but rapid tissue peeling, severe discoloration, or an extreme reaction means remove it early and rinse. The label time is a maximum working guideline, not a challenge to see how long a coral can tolerate treatment.
Move the coral through the first clean rinse, then the second. Baste it gently in each rinse and inspect the tray. Only then should the coral go to quarantine or, if quarantine is not available, into the display tank in a lower-light, moderate-flow location where it can recover.
Match the Dip to the Pest Risk
Routine dipping makes sense for most new corals, but a targeted approach is smarter when you know the threat. If a frag came from a system with acropora-eating flatworms, a generic dip may dislodge some adults but still leave eggs behind. That calls for quarantine, repeated inspections, and a treatment schedule designed around the pest's life cycle.
If you find zoanthid-eating nudibranchs, inspect the colony for egg spirals and manually remove what you can. Repeated dips may be necessary because newly hatched pests can appear after the first treatment. If red bugs or another confirmed acropora pest are the concern, use an appropriate treatment plan in a separate system rather than improvising in the display.
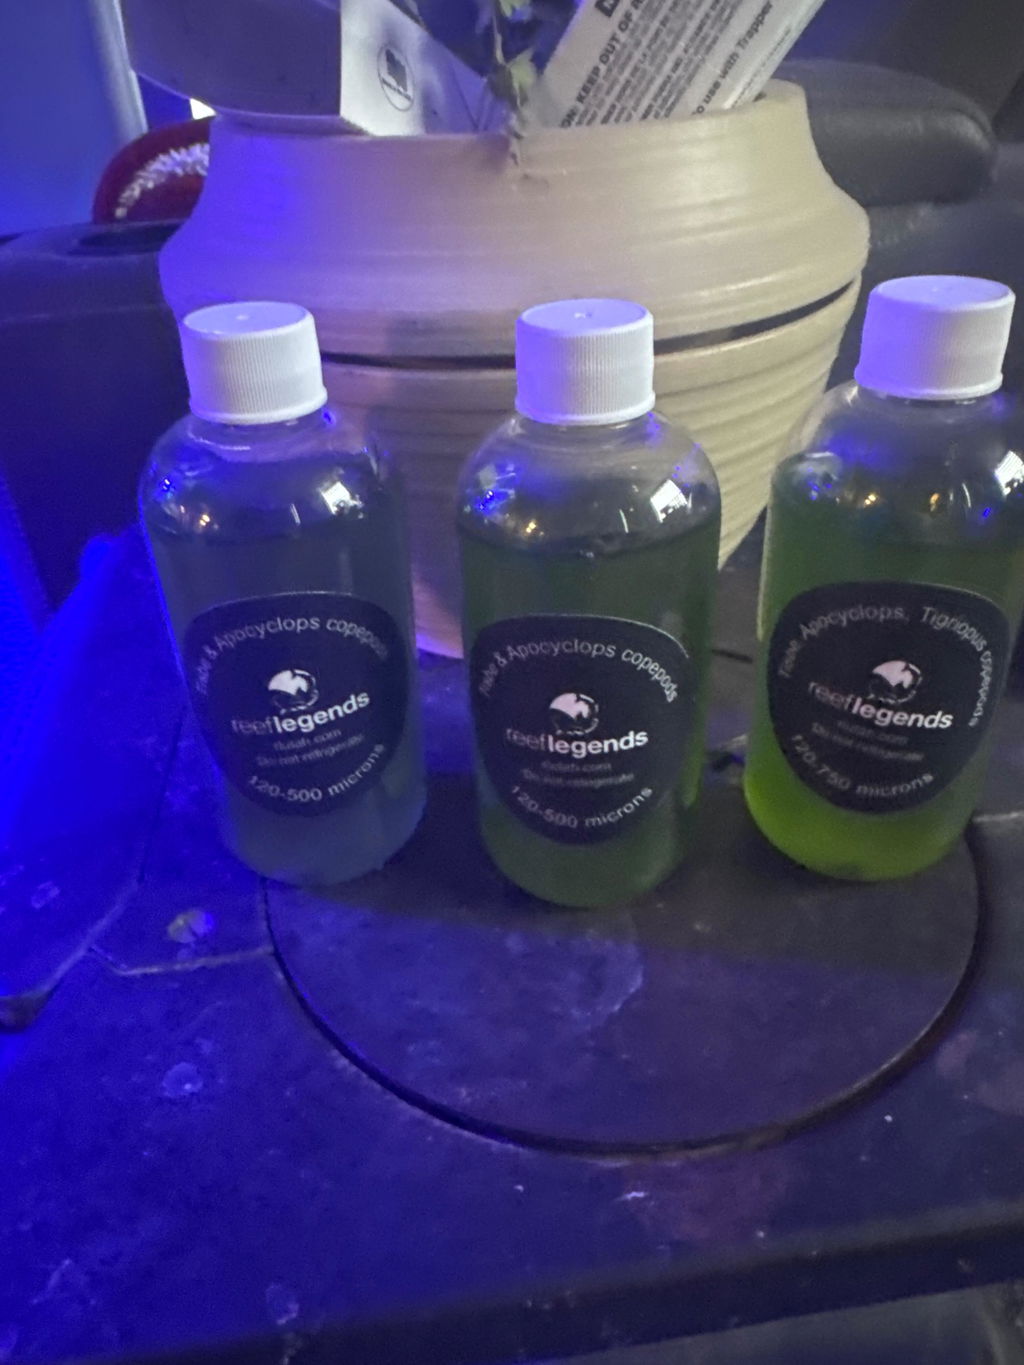
There is also a trade-off with beneficial hitchhikers. Some tiny brittle stars, copepods, microfauna, and harmless worms may be knocked loose along with pests. For most coral collectors, preventing a destructive pest introduction is worth that loss. Still, it is one reason we prefer building a reef's biodiversity deliberately with clean, dense live cultures and trusted livestock, not gambling on what happens to arrive on a random frag plug.
Common Mistakes That Hurt More Than They Help
The most common problem is overdosing. A capful is not a measurement, especially when different products use different concentrations. The second is extending dip time because no pests appeared immediately. Many hitchhikers release only after gentle basting, and not seeing movement does not mean the coral needs a harsher bath.
Another mistake is dipping and immediately placing the coral under high PAR. A new coral needs to recover from shipping and handling. Start lower than the final intended light level and move it upward after you see stable extension, color, and tissue condition. Flow matters too. Enough movement to keep debris off the coral is useful, but a freshly stressed frag does not need to be pinned over by direct, turbulent flow.
Finally, do not use one dip container for an entire shipment without considering cross-contamination. If one coral releases pests, every coral placed in that water afterward is exposed. Fresh dip water for each piece is the careful move, especially for high-value frags or mixed-source orders.
A safe dip routine should make new coral arrivals less stressful, not more complicated. Keep a small notebook or phone log of the coral, source, dip used, time, and anything that came off. After a few shipments, that record becomes far more valuable than guessing when a problem shows up weeks later.